

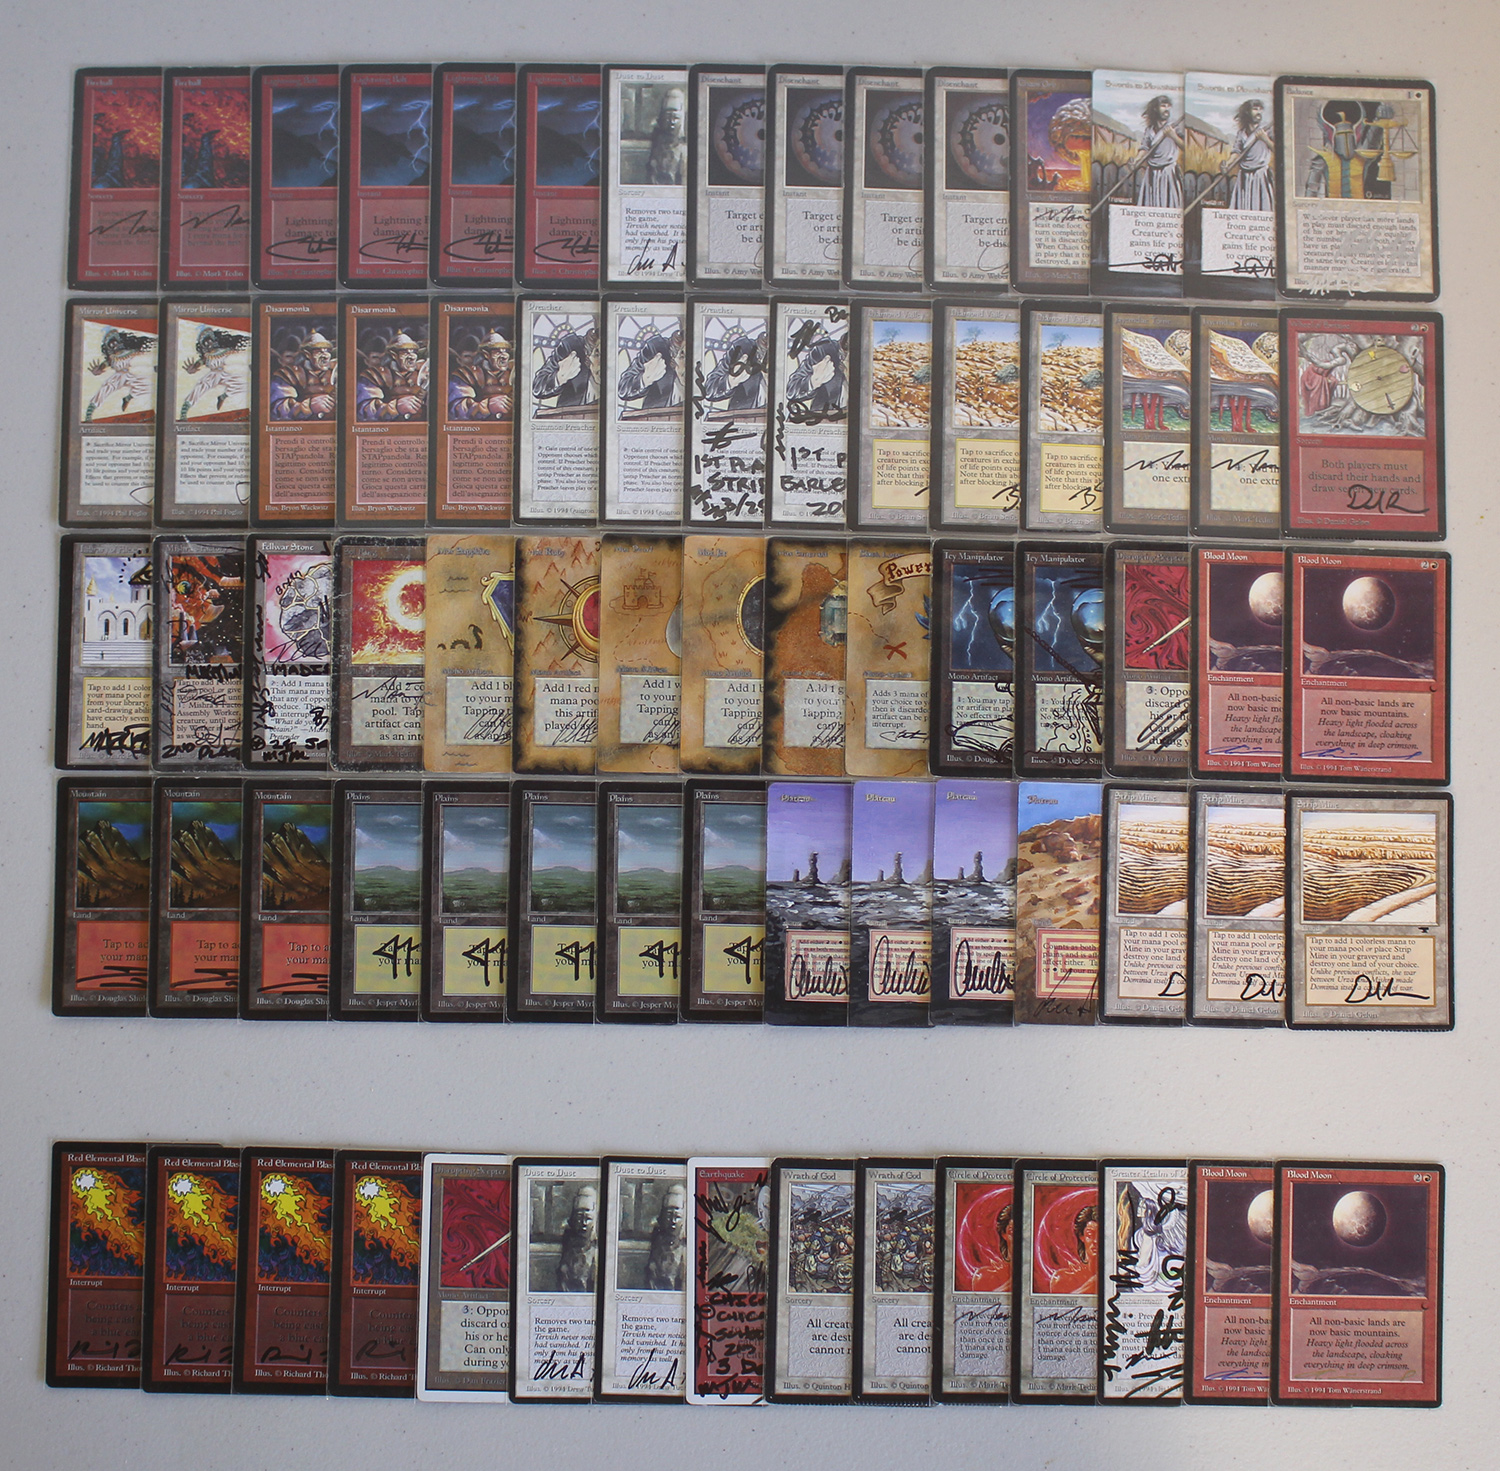
Welcome to Old School Month on Eternal Central. We’re looking at a different Old School 93-94 deck each day of the month. Today’s deck is called Blood Diamond, for the presence to both Blood Moon and Diamond Valley. One sees a fair amount of Old School play, while the other is pretty rare.
Blood Diamond is a red and white deck that utilizes synergies with Diamond Valley and other recurring card advantage themes, while using Mirror Universe as another kill condition (and life buffer). Here is a version I recently played, tilted slightly more towards playing against aggressive and mid-range creature decks.
Constructing Blood Diamond
There is a lot of room for customization in this deck, depending on what you want to do with it, and what you want to target beating. The only cards that I really consider “core pieces” are Mirror Universe, Blood Moon, Preacher, and Diamond Valley. Even with those, the numbers both main deck and sideboard can be tweaked.
In the version above, I have chosen to go heavier on the Diamond Valley package, because with Preacher and/or Disharmony, you can steal your opponent’s creature(s), and then sacrifice them to your Diamond Valley. This works as both creature control, and a kill condition.
If you suspect you’ll be playing against more blue and grindy matchups, I’d recommend building with something like 3 Jayemdae Tome and 3 Disrupting Scepter main deck, for recurring card advantage mechanisms, while cutting back on the Disharmony and Icy Manipulators. You can also tweak the removal package to include fewer things like Lightning Bolt, and more copies of Dust to Dust, which can be devastating against blue decks that get ahead incrementally with their own Jayemdae Tomes and fast mana.
If you really want to annoy your opponent you can also build around Land Tax and Ivory Tower, and include more rage-inducing cards like Armageddon (which also has synergy with Land Tax).
Creature Choices
Preacher is one of the core cards in the deck, for its synergy with Diamond Valley. Other than that, there aren’t very many creatures you want to play, which can limit how effective your opponent’s main deck removal spells will be. I’ve played with 2-3 copies of Serra Angel before, which is also a fine way to close out the game.
Removal
The removal you play can vacillate based upon what you want to build your deck to beat, and what you expect to face. Balance and Chaos Orb are must-includes, but beyond that, experiment with whatever you like. In the version above I have gone lighter on Swords to Plowshares, and included more burn spells to later use with Mirror Universe. Pyrotechnics is another fine choice if you expect to face off against weenie creature strategies, while still having synergy with Mirror Universe later in the game.
Mirror Universe
Mirror Universe functions as one of the kill conditions in this deck, because you’ll often use your life as a resource before tying up with the battlefield with Preacher, Icy Manipulator, Blood Moon, or something else giving the opponent headaches.
A very common practice will be to swap life totals with your opponent during your upkeep, sacrificing the Mirror Universe. You then cast a Fireball or a couple of quick Lightning Bolts targeting their dome, and the game is over.
Designing the Sideboard
Red Elemental Blast is a great card against Counterspell decks, to force through your most important threats, or to counter their card advantage spells like Ancestral Recall. Dust to Dust also helps against most of these decks, as they commonly rely on Jayemdae Tome and fast artifact mana.
Against creature decks you have tons of options, such as Swords to Plowshares, Moat, Wrath of God, and Earthquake. I’ve opted for a few of the mass removal spells here, because there is already plenty of one-for-one removal in the main deck, and these can help you slowly grind out card advantage against the aggressive strategies.
Circles of Protection and Greater Realm of Preservation are always a consideration against burn-heavy decks, or combo decks like Underworld Dreams Combo.
Blood Moon is a card that is sometimes great, and sometimes useless. In the deck presented above we straddle this line, by including two copies main deck, and two more in the sideboard. This can, and should, be adjusted to how important you think Blood Moon is in your local metagame.
Playing Blood Diamond
Most games with Blood Diamond will fall in to a few different patterns of play. Against multicolor decks with a fragile manabase, you want to stick a Blood Moon and go to town.
Against aggressive creature decks you want to use Lightning Bolt and Swords to Plowshares to survive the early rush, while using Preacher and Disharmony, in conjunction with Diamond Valley, to clean up threats from turn three and beyond. From there you will probably end the game by beating them down with their own creatures, or burning them out after you trade life totals with Mirror Universe many turns down the road.
While Blood Moon turns Diamond Valley in to a Mountain and shuts off its ability, the overlap of where that will matter when Blood Moon is trumping your opponent’s plan is very narrow. So it’s usually a self-correcting problem, in that when you want one, you often don’t want or need the other. Other times you will have a Blood Moon in play wreaking havoc, and will just build up resources until your opponent can Disenchant or Tranquility it away, and then your lands will be functioning back to normal again, hopefully when you are resource rich (by drawing extra cards with Tome, for example).
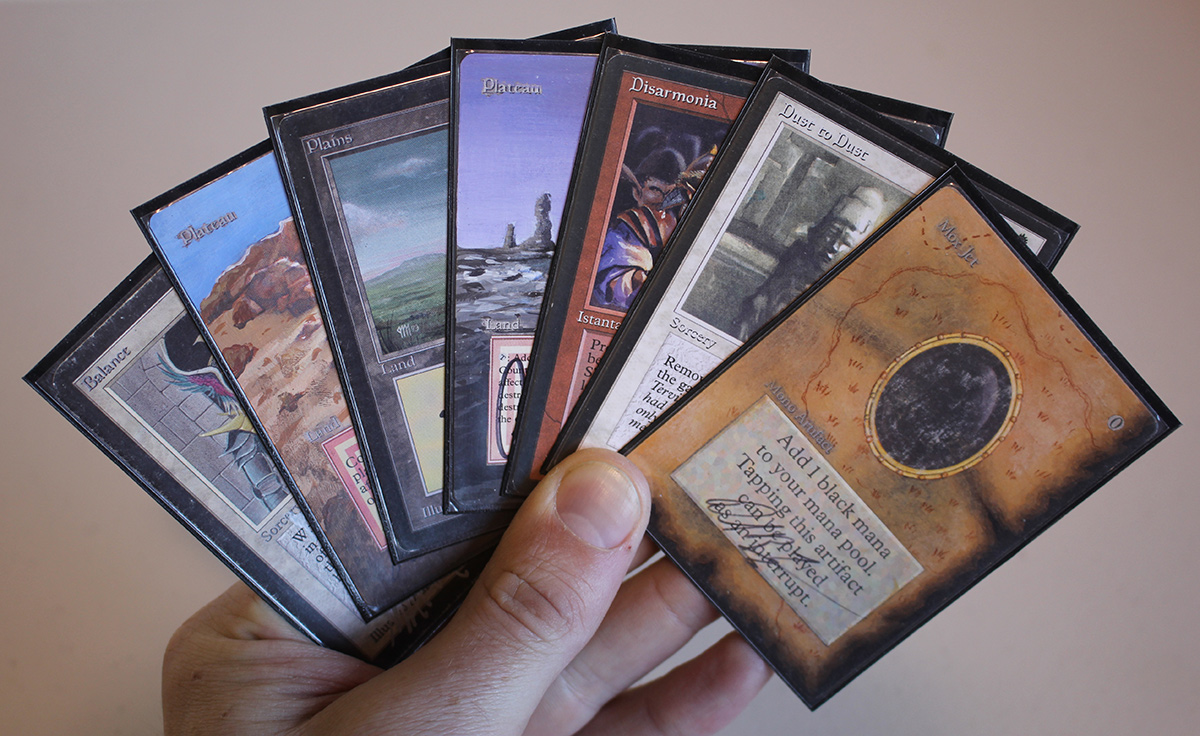
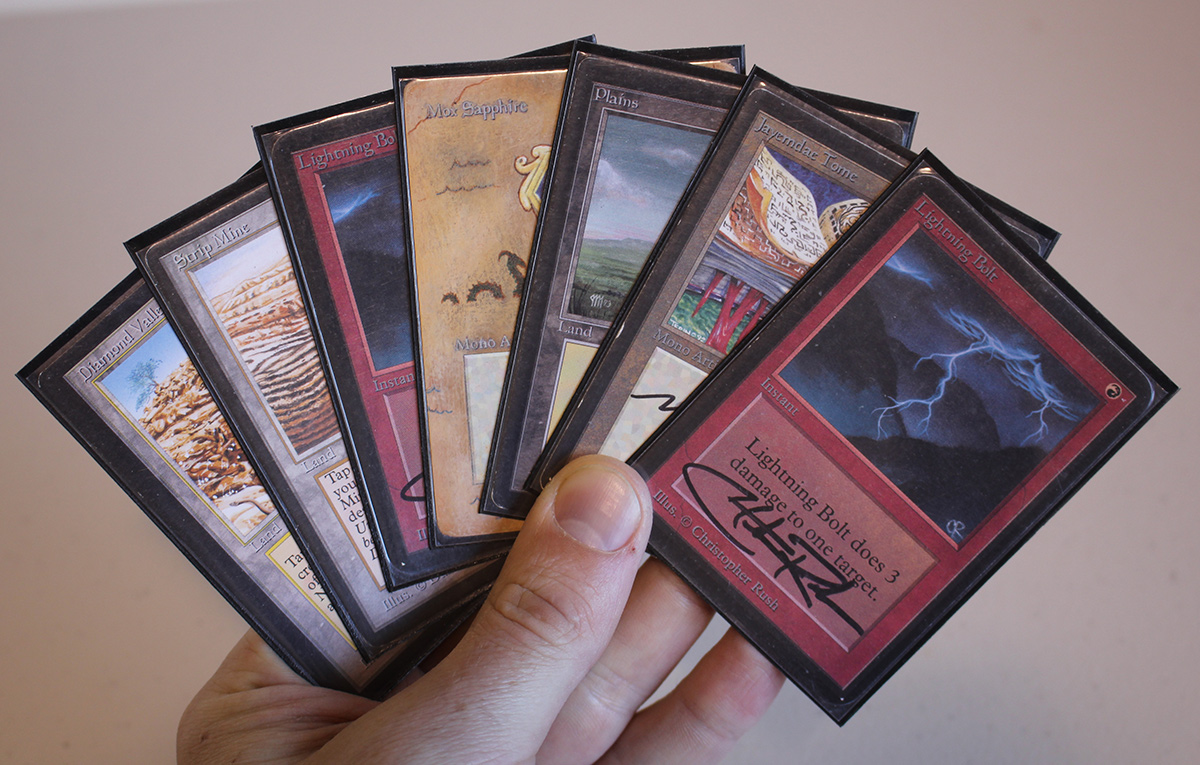
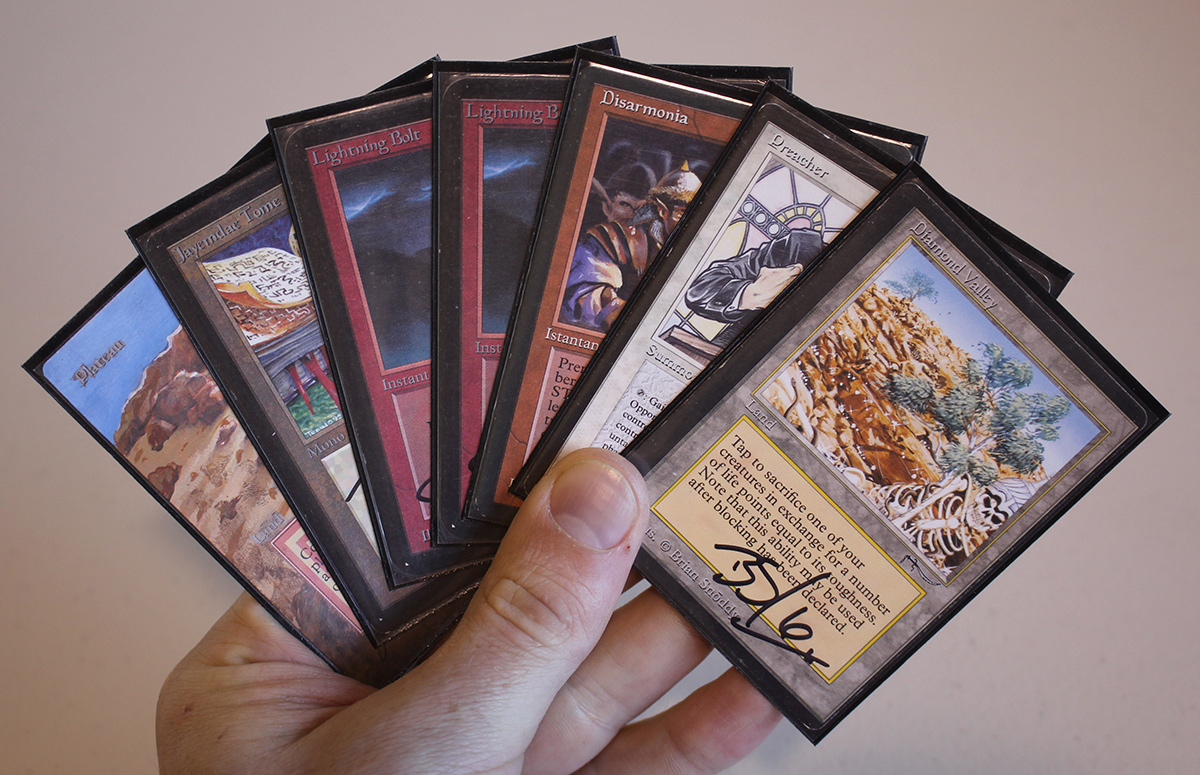
Ten Opening Hands with Blood Diamond
Here are ten randomly drawn opening hands with the deck (in order, and not manipulated in any way), and a few brief words with how I might look to play said opening hands.
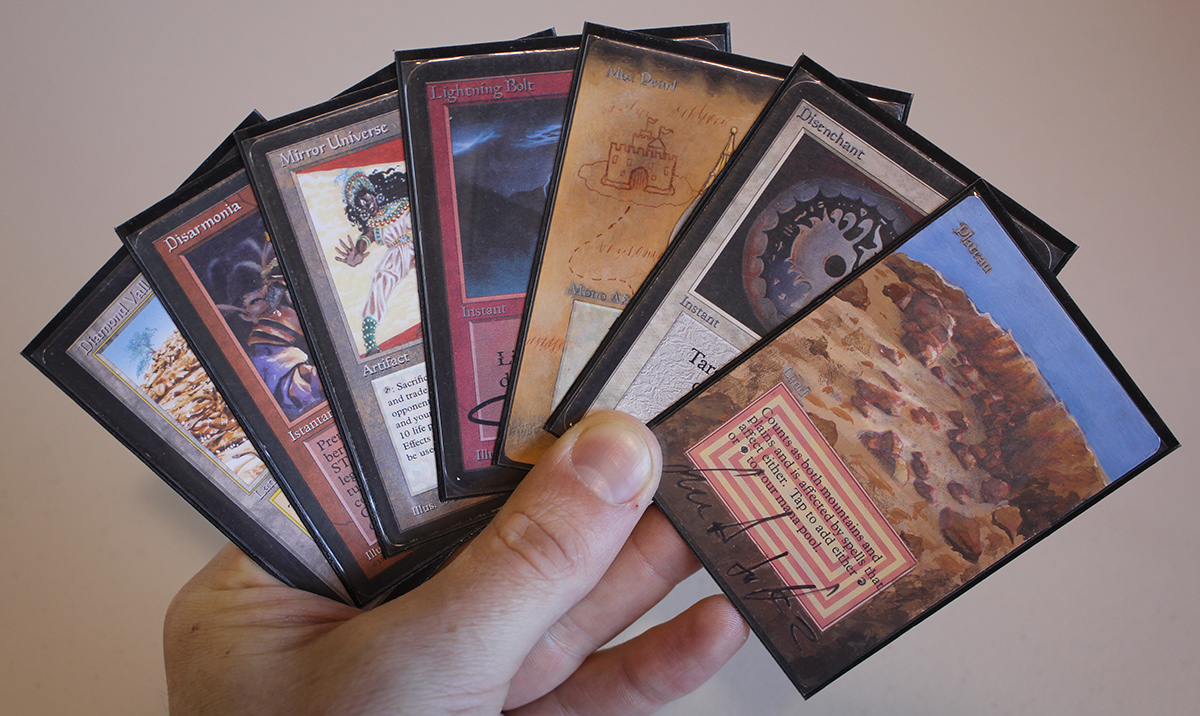
Opening Hand 1
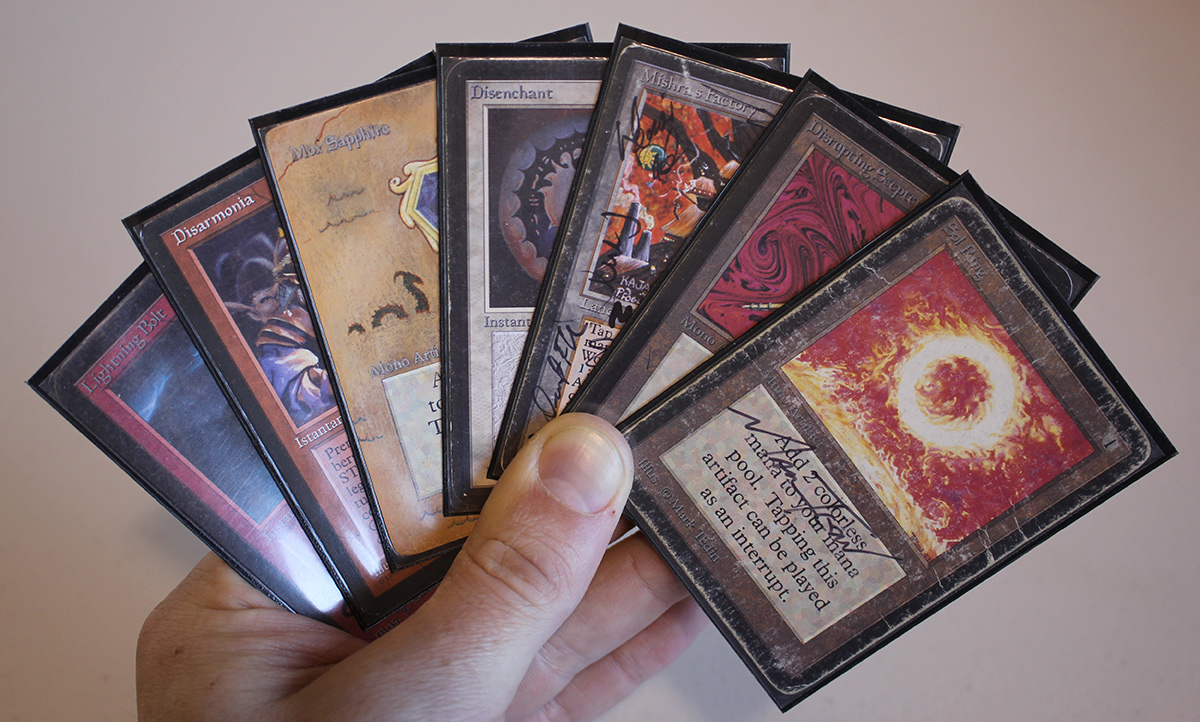
While this hand lacks colored mana, you don’t really need it yet, and you can resolve a first turn Disrupting Scepter, which should go a long way towards grinding this game out. I would keep it and seek to use Scepter each turn in the early game. If your opponent can deal with it, you are still only a colored mana source away from casting the rest of the hand, with a low mana curve.
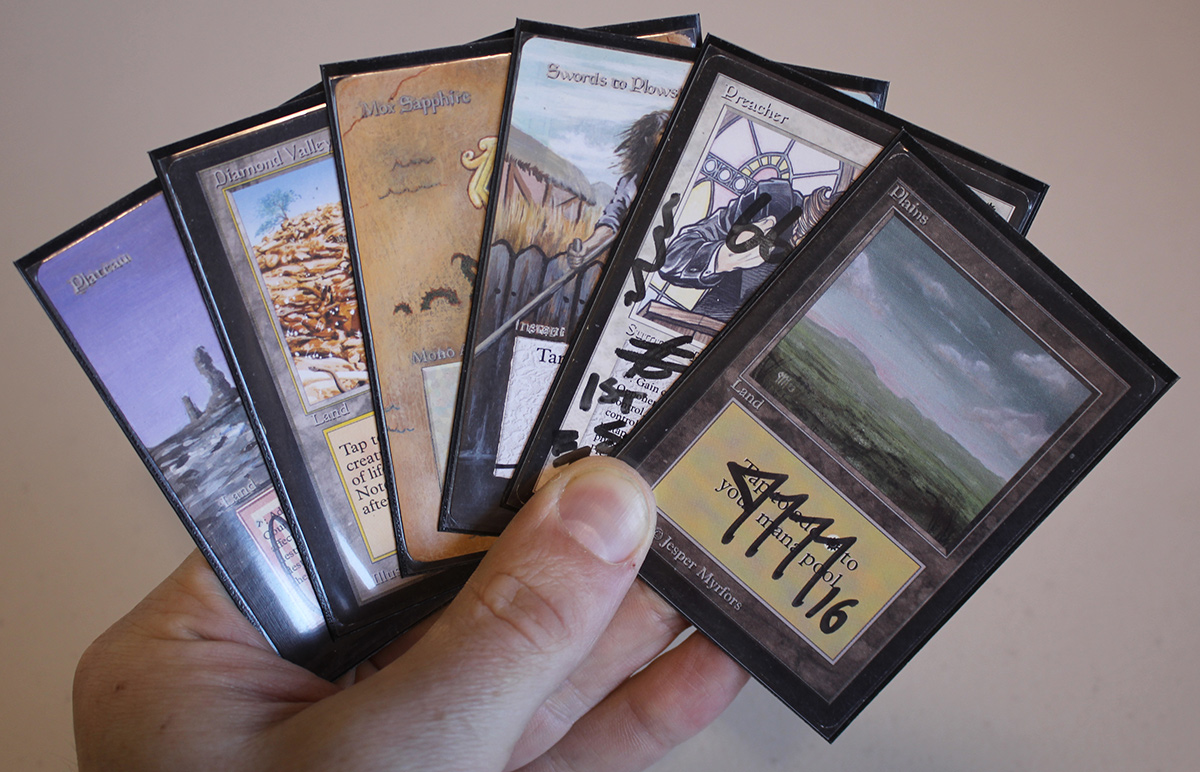
Opening Hand 2
This is a pretty common opening hand for this deck. Some mix of mana and removal, which is what half the deck is. This is a keeper, which can deal with a horde of creatures, or some early artifact acceleration from the opponent.
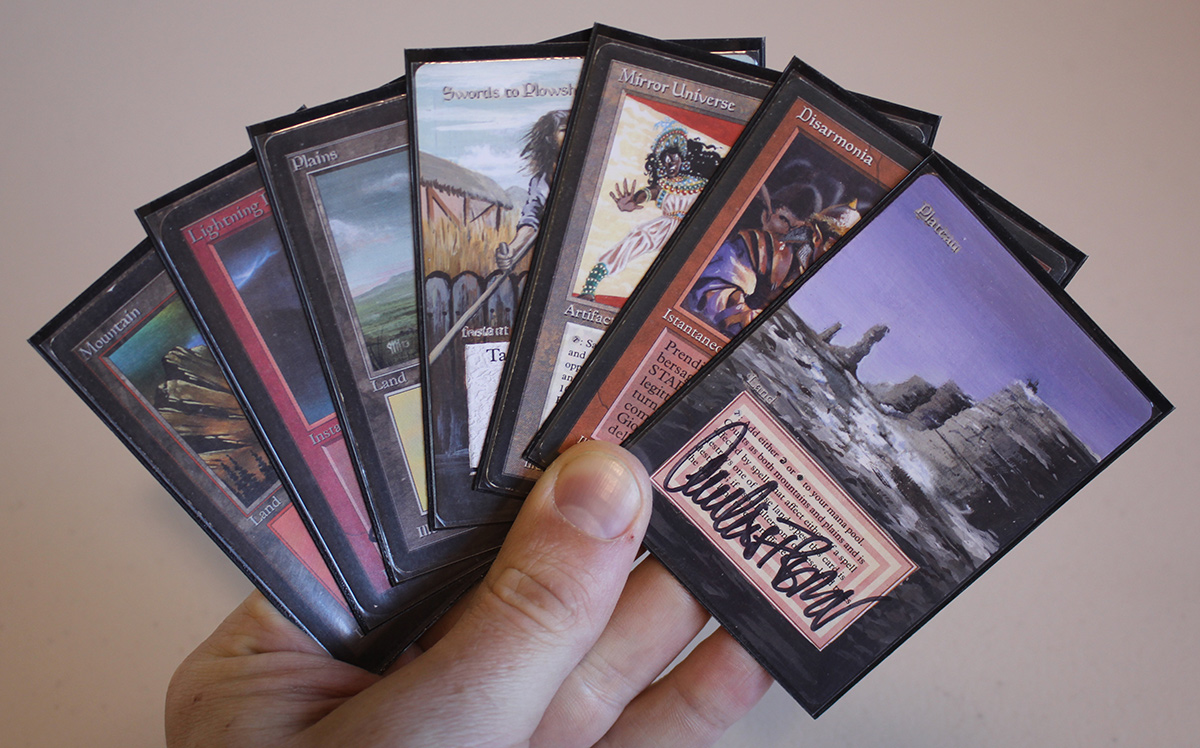
Opening Hand 3
While lacking a red mana source, this hand contains Strip Mine, a Mox for acceleration, removal, and Jayemdae Tome. It’s easy to see how this hand could go sideways if we don’t draw a red source early against an aggro deck, but I’d probably keep it, and hope to just get Tome going.
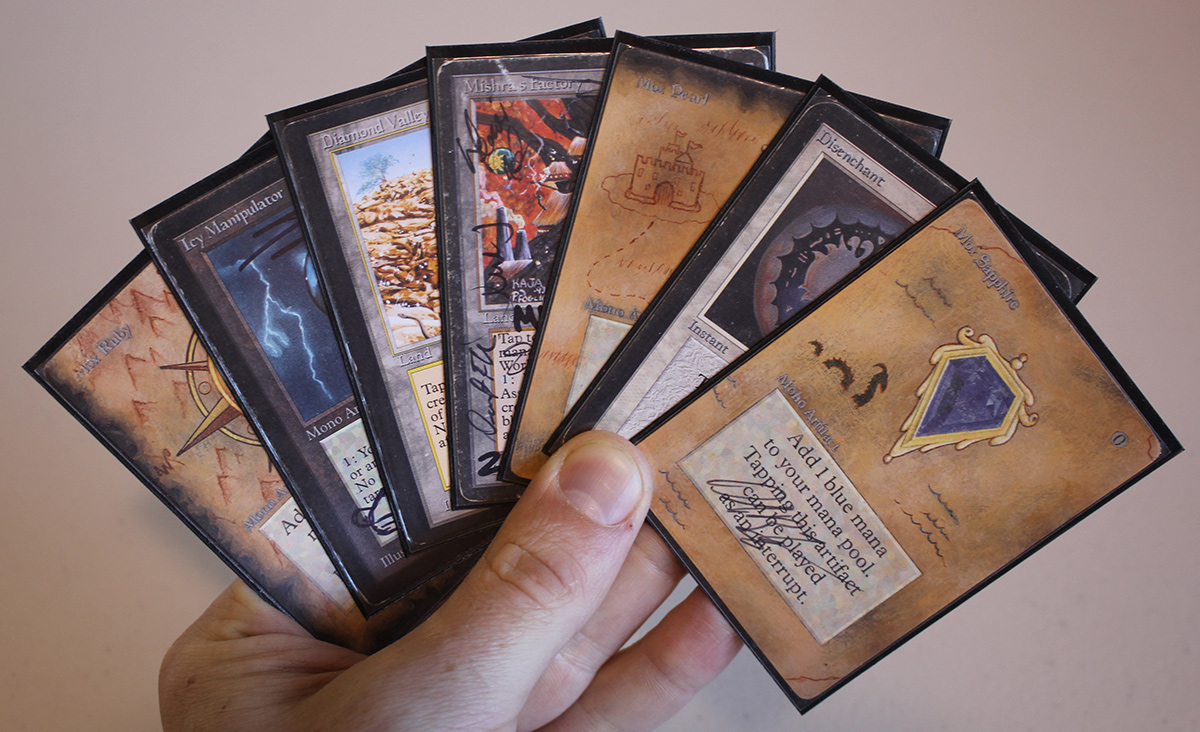
Opening Hand 4
This hand is probably going to fall behind against a heavy blue control deck, but against any aggressive deck you are very well positioned. You have multiple pieces of removal, and already have the Diamond Valley to use with Disharmony. This is illustrative of playing a deck that has a lot of underpowered, but situationally strong cards in it.
Opening Hand 5
This opener represents a lot of the type of hands you’ll see, with easy mana color requirements in a two color deck, along with a few removal spells. We can cast what’s already in our hand, and can easily cast whatever we’re going to draw, so this is a keeper.
Opening Hand 6
Multiple removal and creature control spells, with no mana to cast them. Let’s throw it back in search of a stronger six.
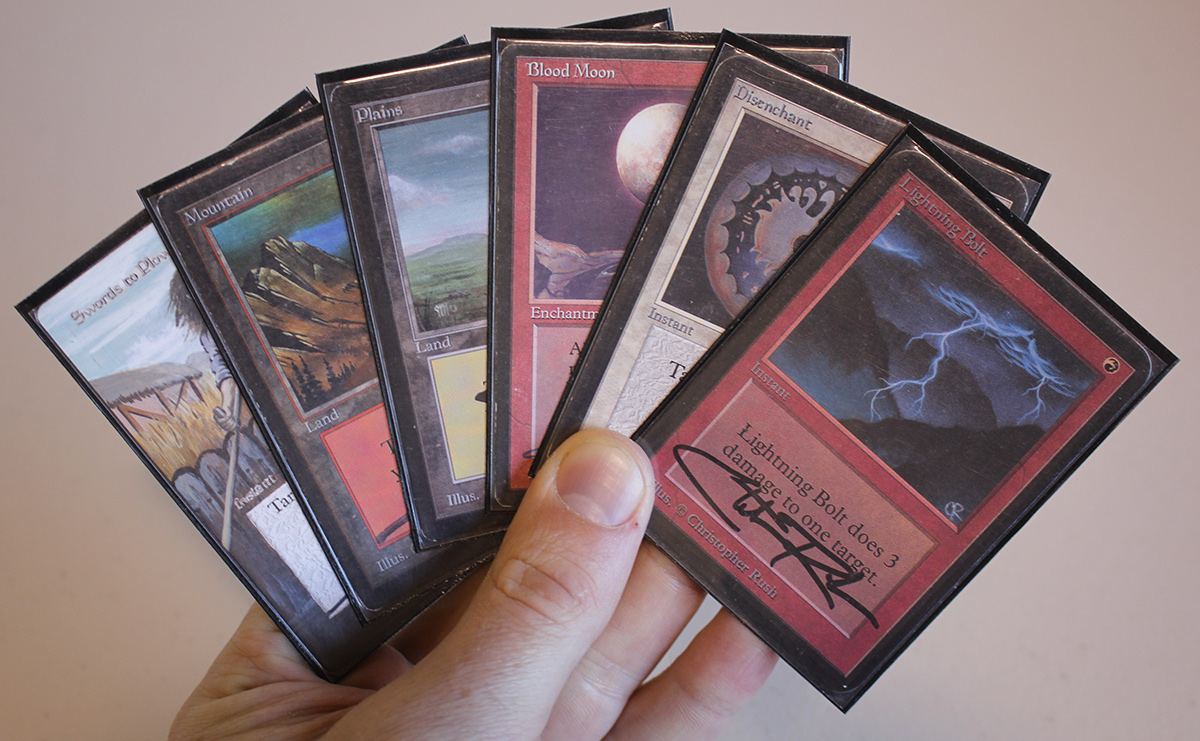
We’ve found on-curve removal, basic lands in both of our colors, and Blood Moon. We can happily keep this hand.
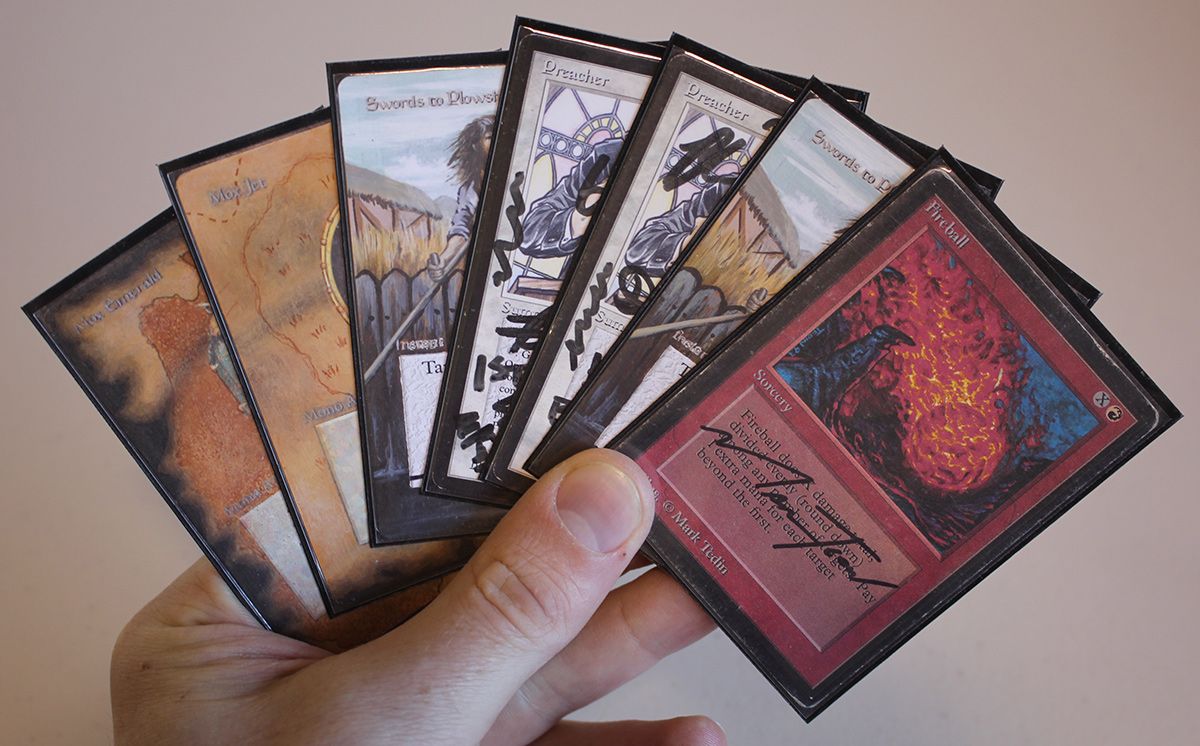
Opening Hand 7
While the presence of two Lightning Bolts and Preacher plus Diamond Valley may be tempting, this hand has weak mana, and a plan that can easily be disrupted by a single Strip Mine. It’s a mulligan.
This hand is much better. We have early creature removal, fine mana, and the Preacher + Diamond Valley combo. We’ll lead with Plains, pass, and then go from there. There’s no reason to expose the Plateau, or to give the opponent any information about what kind of mana acceleration we have access to.
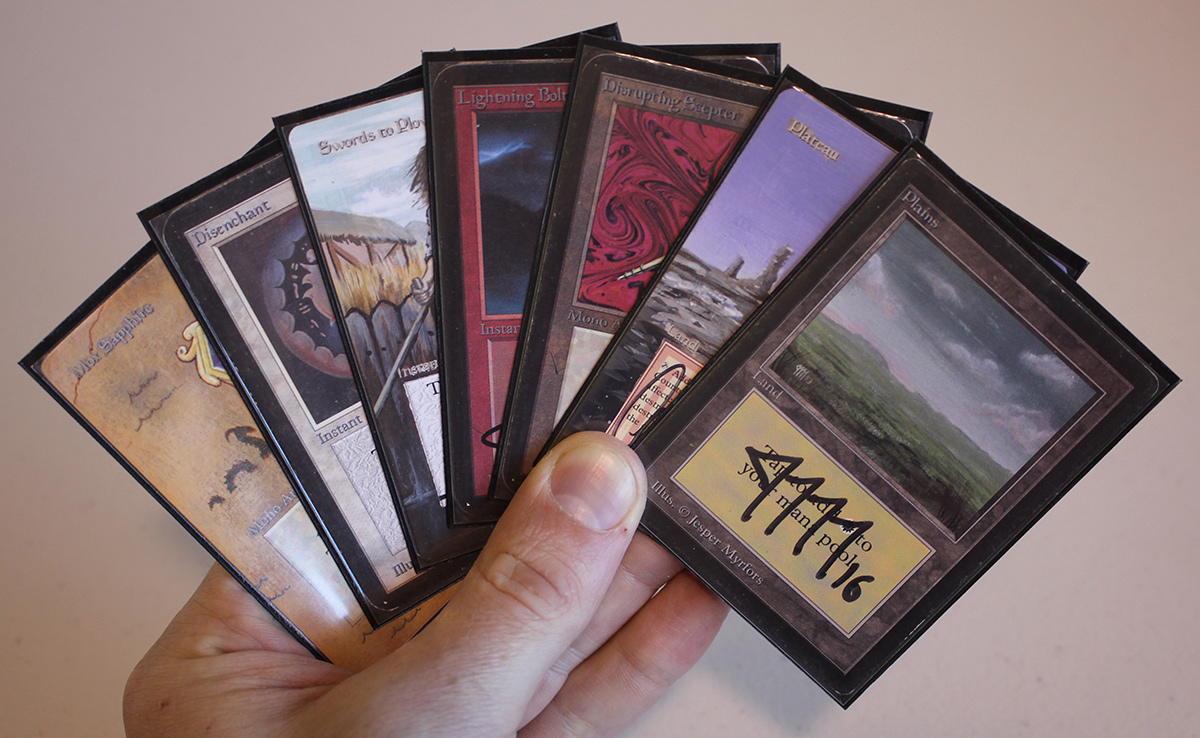
Opening Hand 8
With plenty of fast mana, this hand can cast a first turn Icy Manipulator, which can help tie up the opponent’s mana on their upkeep for a few turns while we hopefully draw in to other gas, and there is also a Disenchant for protection from something sick the opponent might land. I’d quickly keep this one.
Opening Hand 9

This hand doesn’t have great mana, but it does have enough to cast two removal spells that are already present, and we can see a path to having Disharmony + Diamond Valley online in a few turns for further creature control. I’d probably keep this if I suspected I was playing against a deck with creatures, and probably mulligan if I was playing against a slower blue deck.
Opening Hand 10
Three mana sources, Disrupting Scepter, and tons of removal makes this a snap keep. You have the option of a first turn Disenchant, Lightning Bolt, or Swords, and a second turn Scepter. Not bad.
Concluding Thoughts
While playing non-blue decks represents foregoing some of the most broken spells in the format, and some of the best card advantage (in the form of Ancestral Recall and Braingeyser), it also opens up a lot of design space for controlling and battling different elements in the Old School format. I enjoy this deck because it is very customizable, and plays a couple of my favorite cards in Blood Moon and Preacher, and further presents a self-challenge by building around things other than restricted cards in Old School.
Outside of Diamond Valley, this is a deck that can be built on a budget. The on-color Moxen are really great in this deck, but the other fast mana can be swapped out for Land Tax, more basics, and a couple of Fellwar Stones if you want to shift the focus or operation of the deck slightly. Thanks for reading, and be sure to check back here daily for more new Old School decks.